Building a Deploy Button
I recently got a Olimex A20-OLinuXino-LIME mini computer as a speaker gift for speaking at the Bulgaria PHP Conference. It’s quite similar to a Raspberry Pi, it has few USB ports, Ethernet port, HDMI output and some GPIO pins to hook up some electronics. Quite a lot of GPIO pins actually, a lot more than on Raspberry Pi. And it runs Debian Linux from an SD card. So it’s perfect for doing some hardware hacking and I have been building something on it last week.
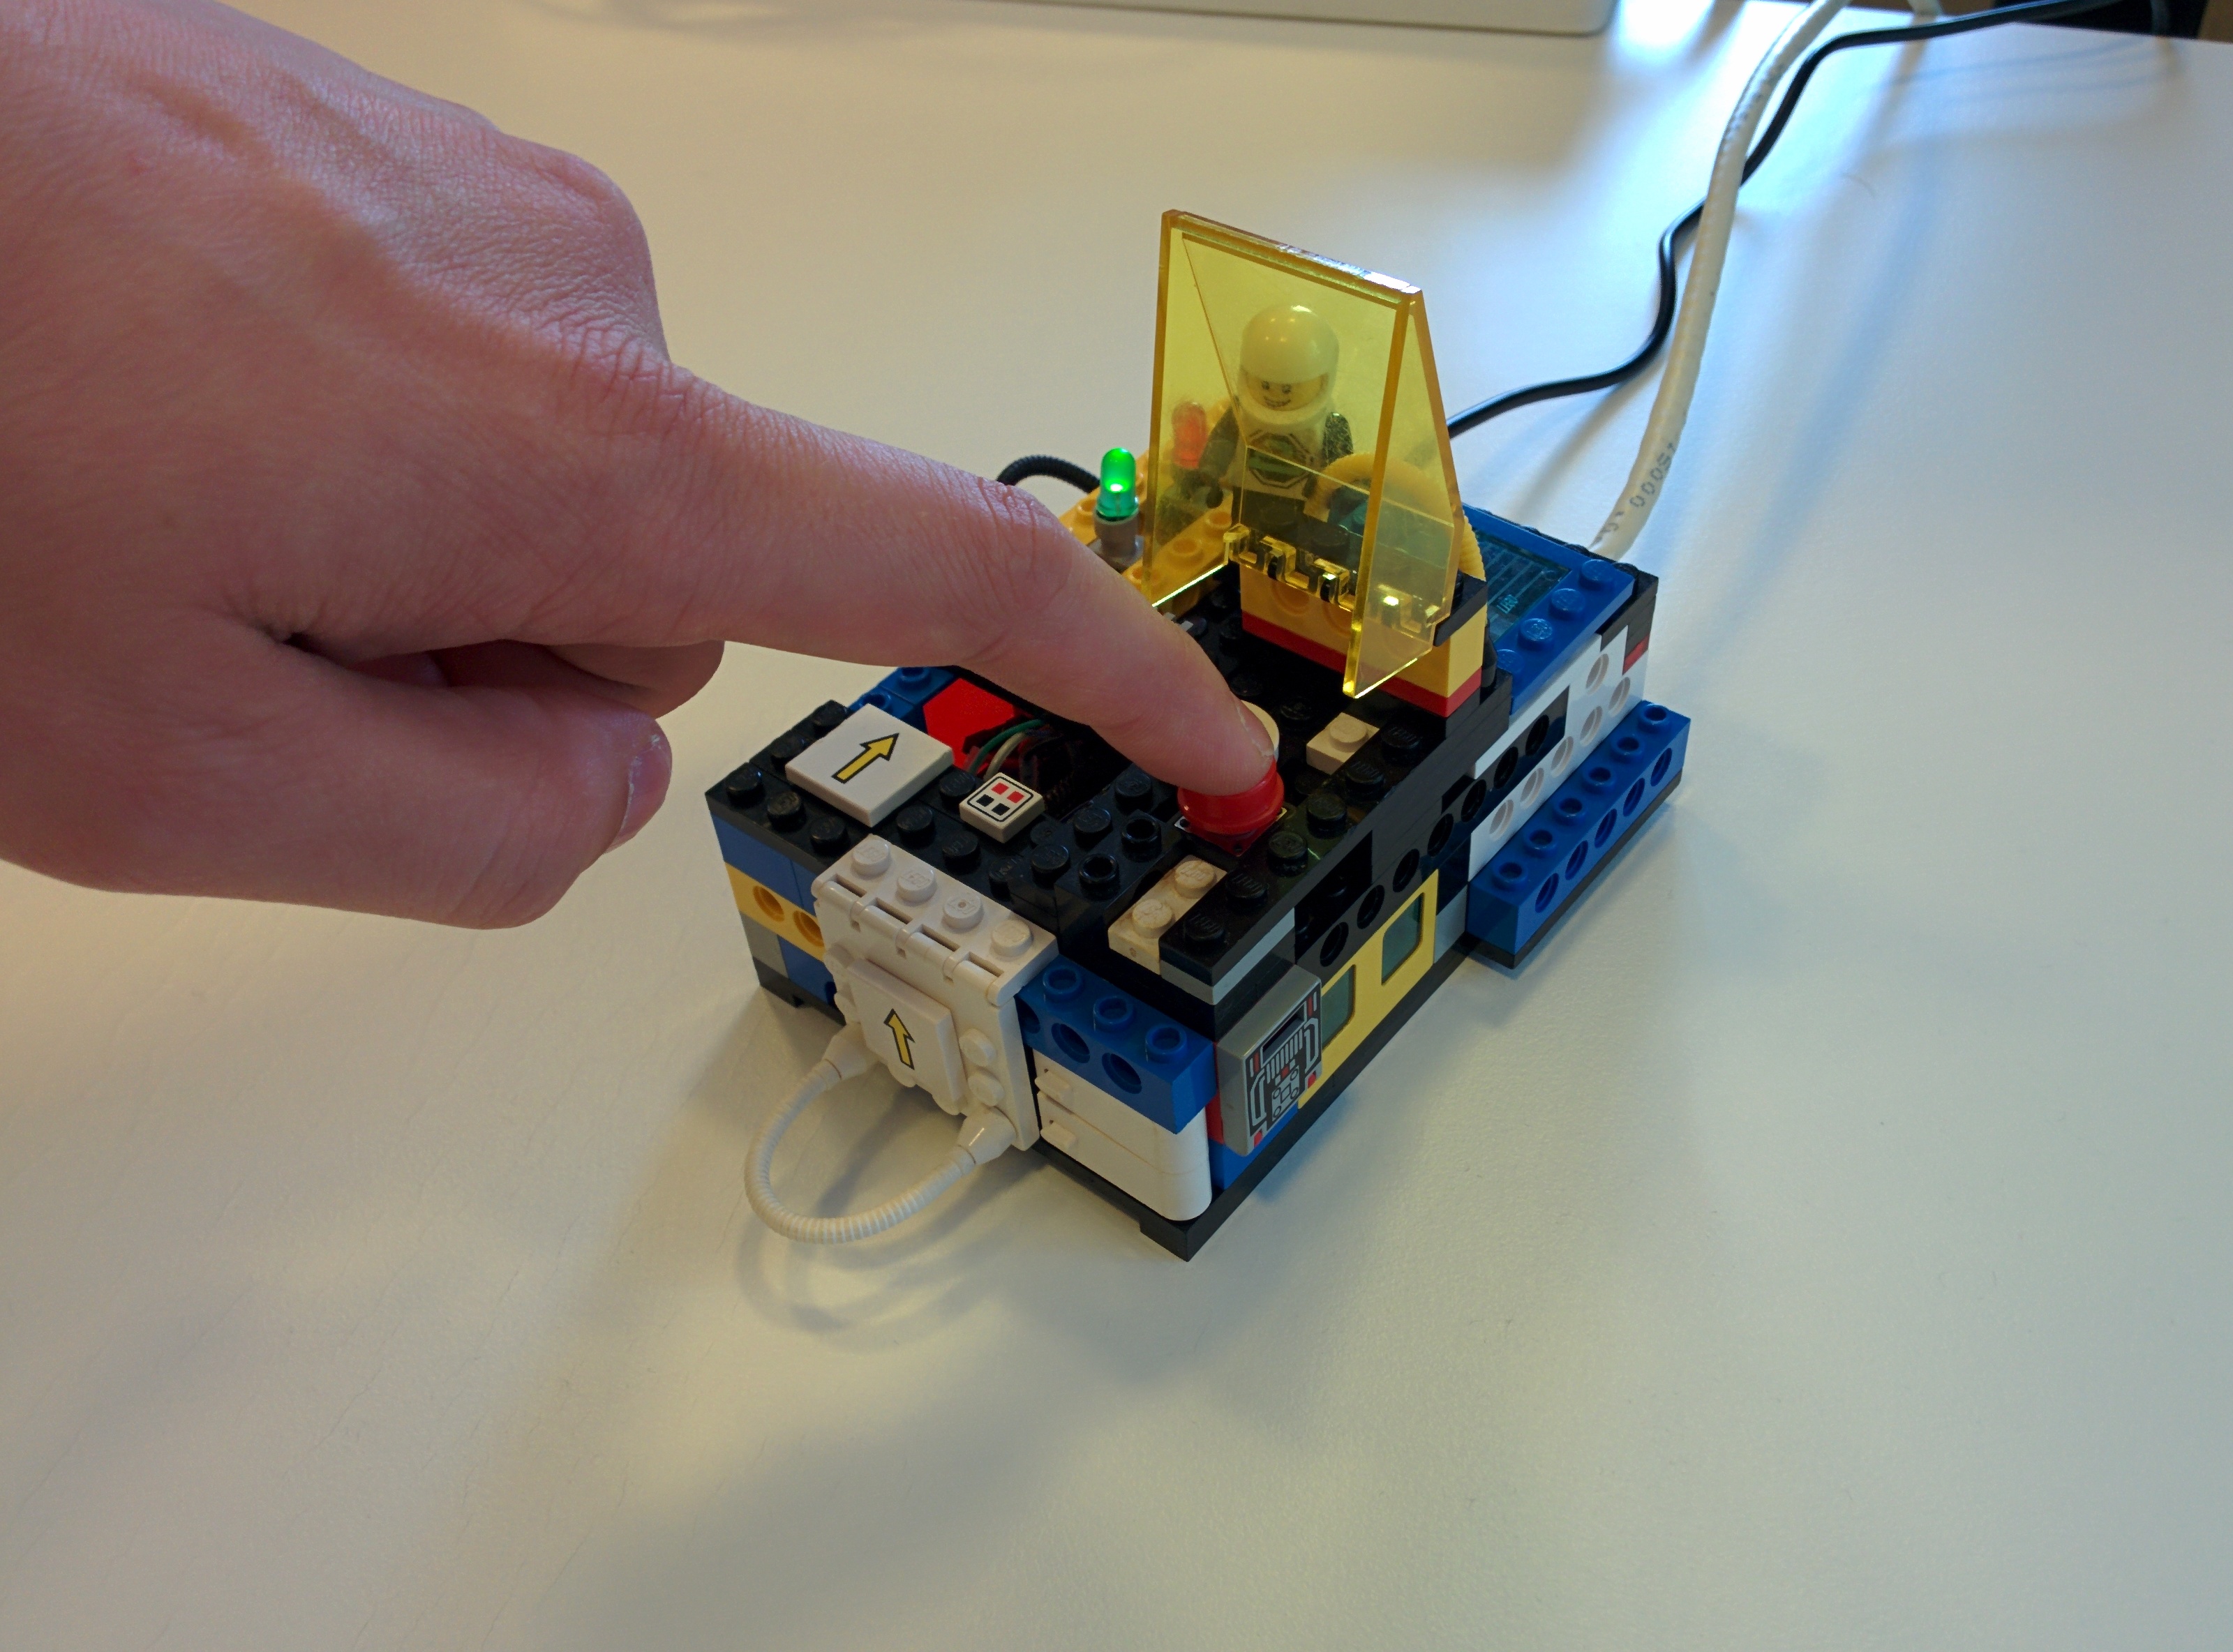
I decided to build a deploy button for a project I’m working on at work. We are using Jenkins CI server and Capistrano for deploying. So the idea was to show build status from Jenkins with two LEDs, green when last build has succeeded and red when last build has failed. And blink the LED while a build is in progress, just as the icons in Jenkins web interface. And then pressing a button would execute a deploy using Capistrano (if the last build was successful).
There is a Python library for interfacing with the GPIO pins and I also found a nice Python library for interacting with Jenkins. There is also an experimental PHP extension for the OLinuXino GPIO interface, but I thought this would be a nice little project to brush up my Python skills, since I haven’t used it that much so I wanted to do it in Python.
If you are interested in building something similar on a Raspberry Pi, there is a PHP library for the GPIO access and also a Javascript one, so there is a lot to choose from.
Wiring
The GPIO pins on the OLinuXino are very small and close together, so a regular female jumper lead did not fit. I had to take away the plastic enclosure from the connectors and put some tape for insulation to be able to fit them on the pins. Not that difficult, but a little inconvenient.
Otherwise the wiring was easy as I already had some experience from building similar circuits with the Raspberry Pi.
Case
I diced to build a case for the whole thing using Legos. We have used Legos with our electronics projects I have done with my daughter, so I had some ideas to add a lid over the button for example.
It came out quite nice and I was able to fit the button and the LEDs quite firmly using just Legos and nothing else. Could be better of course, but I’m happy with the end result and it’s good enough for the use case.
Programming
The main program logic is quite simple, here is an excerpt that has the main loop:
while True:
    if buttonPressed() and build.success():
        deploy()

    build.check()

    setLeds(build)

    time.sleep(1)
You can see all of the code here.
Here are some images of the end result:

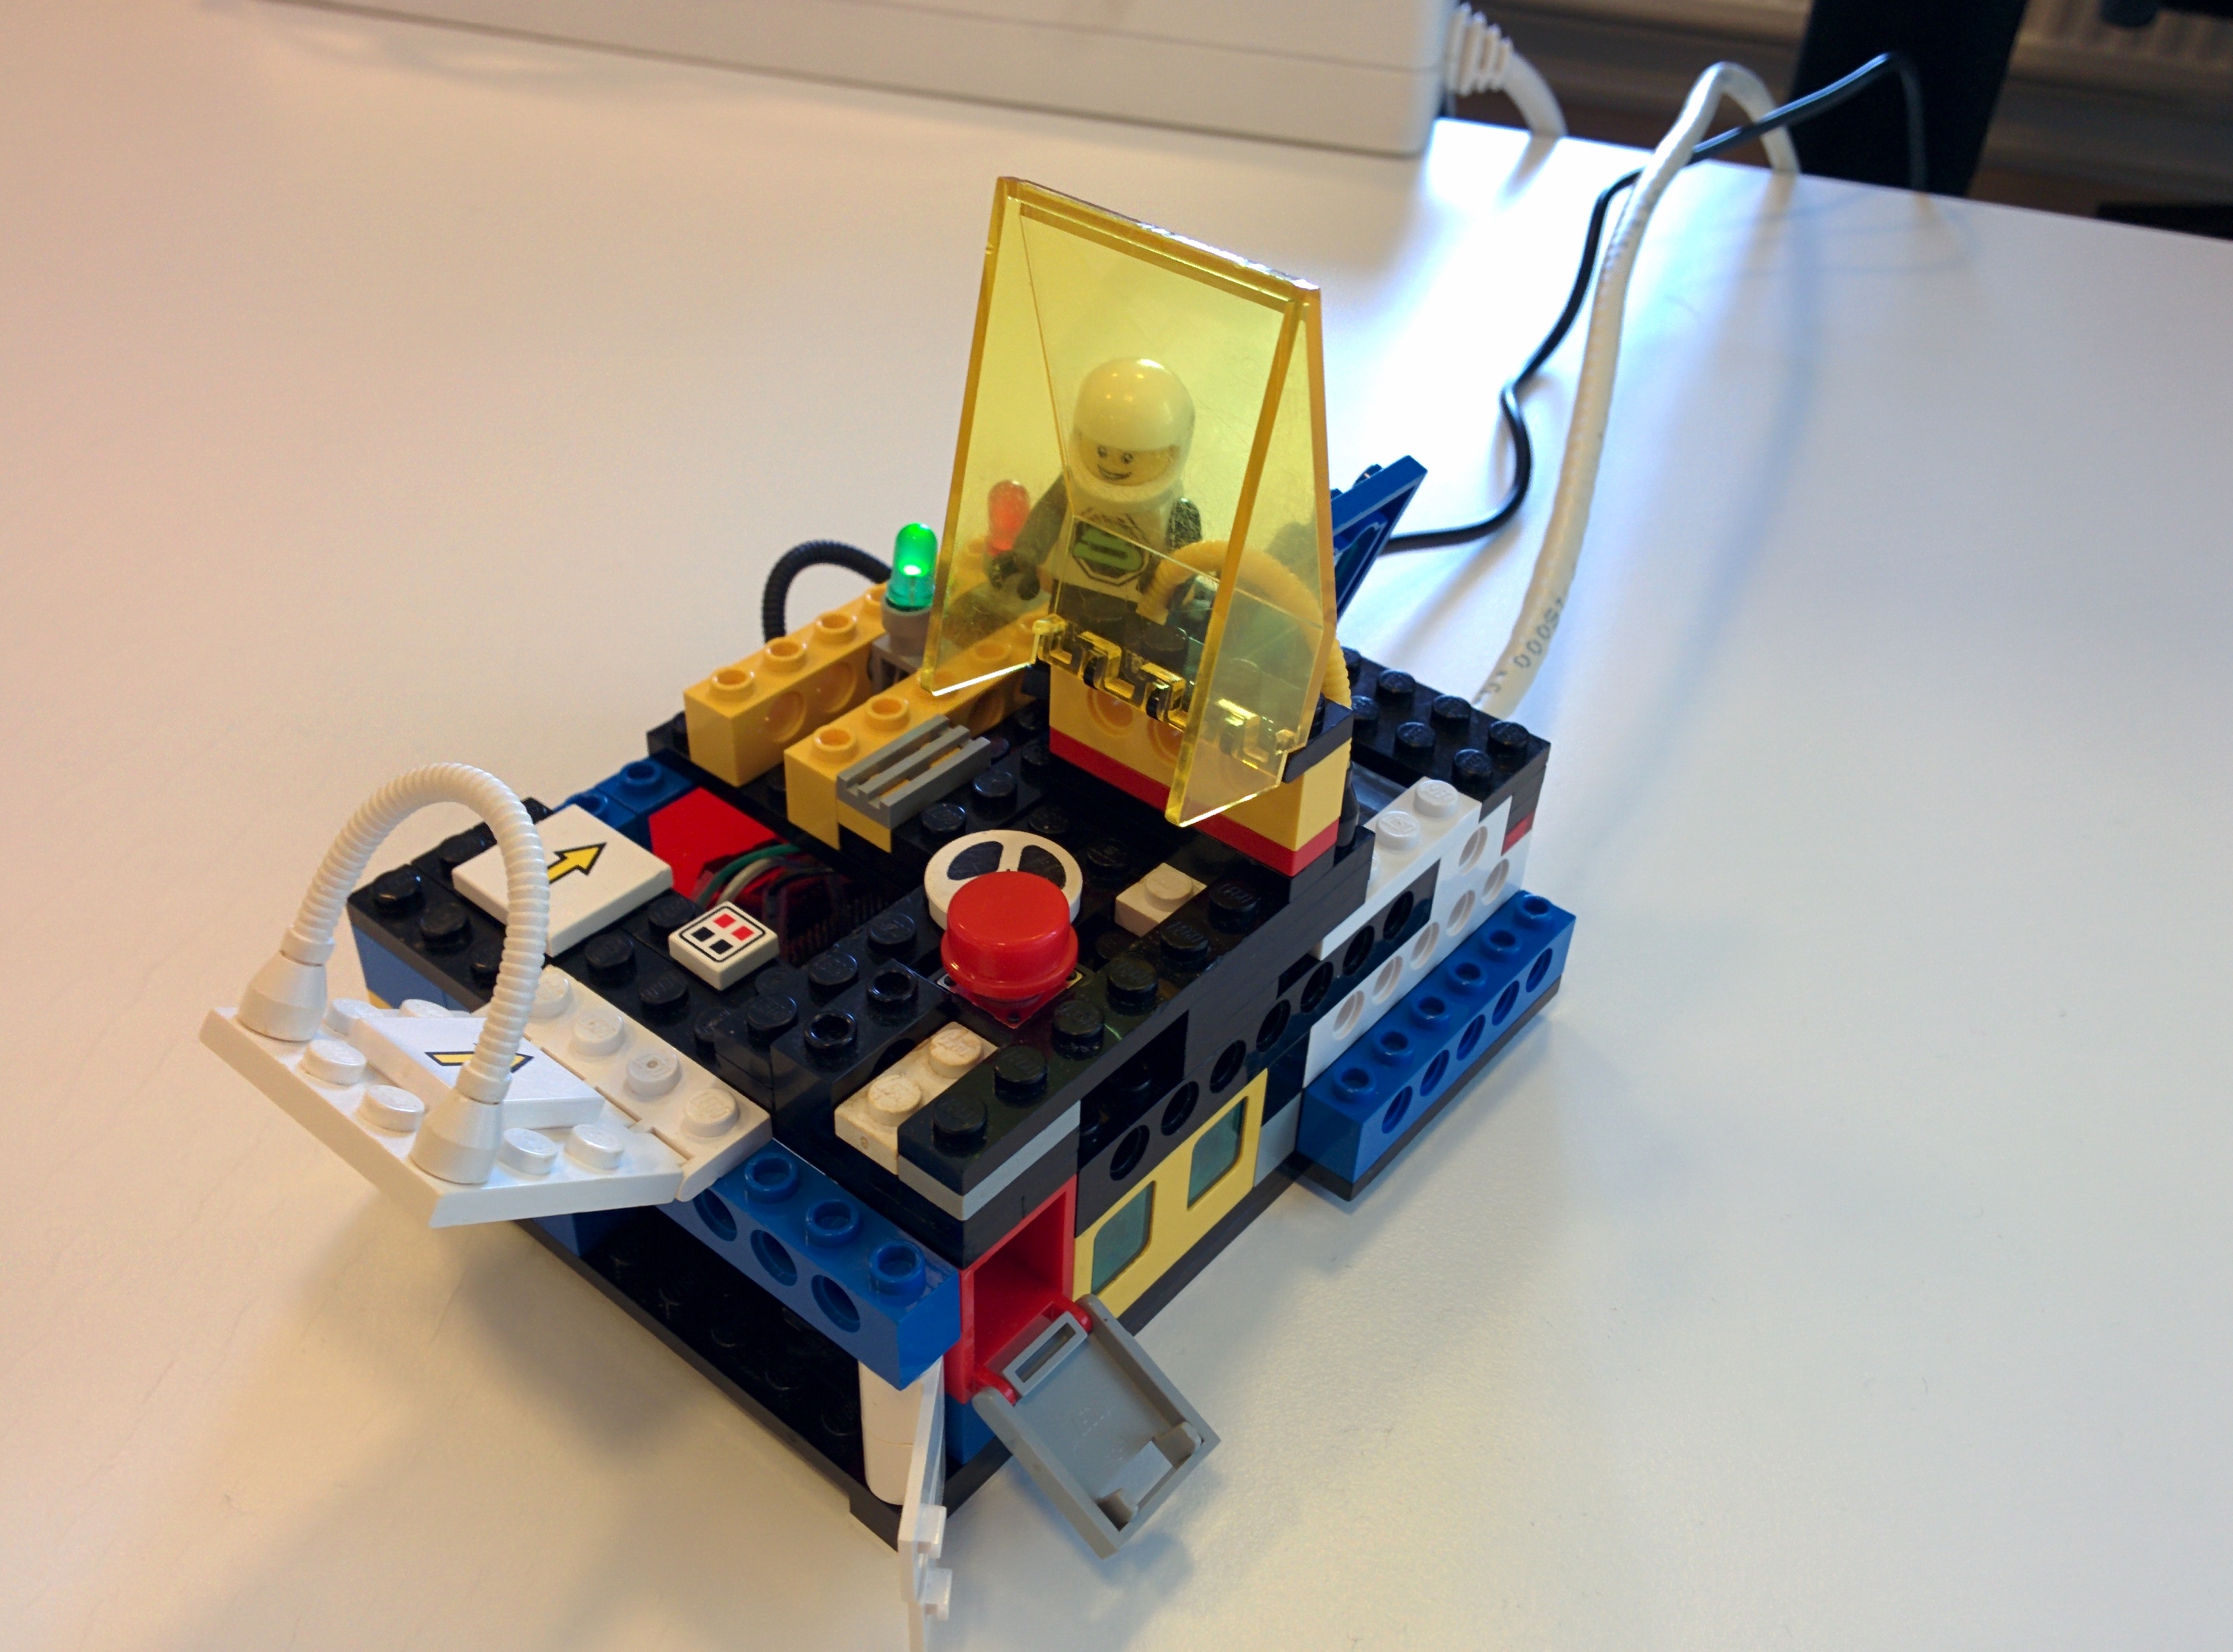
HDMI and mini-USB ports can be accessed by opening the hatches.